4WD Beach Driving: The Recovery Gear to Hire Before You Go
5 November 2026 · Four Swags
- The recovery gear every beach driver should carry
- How to match kit to your 4WD and the sand you will drive
- Renting recovery gear from local owners on Four Swags
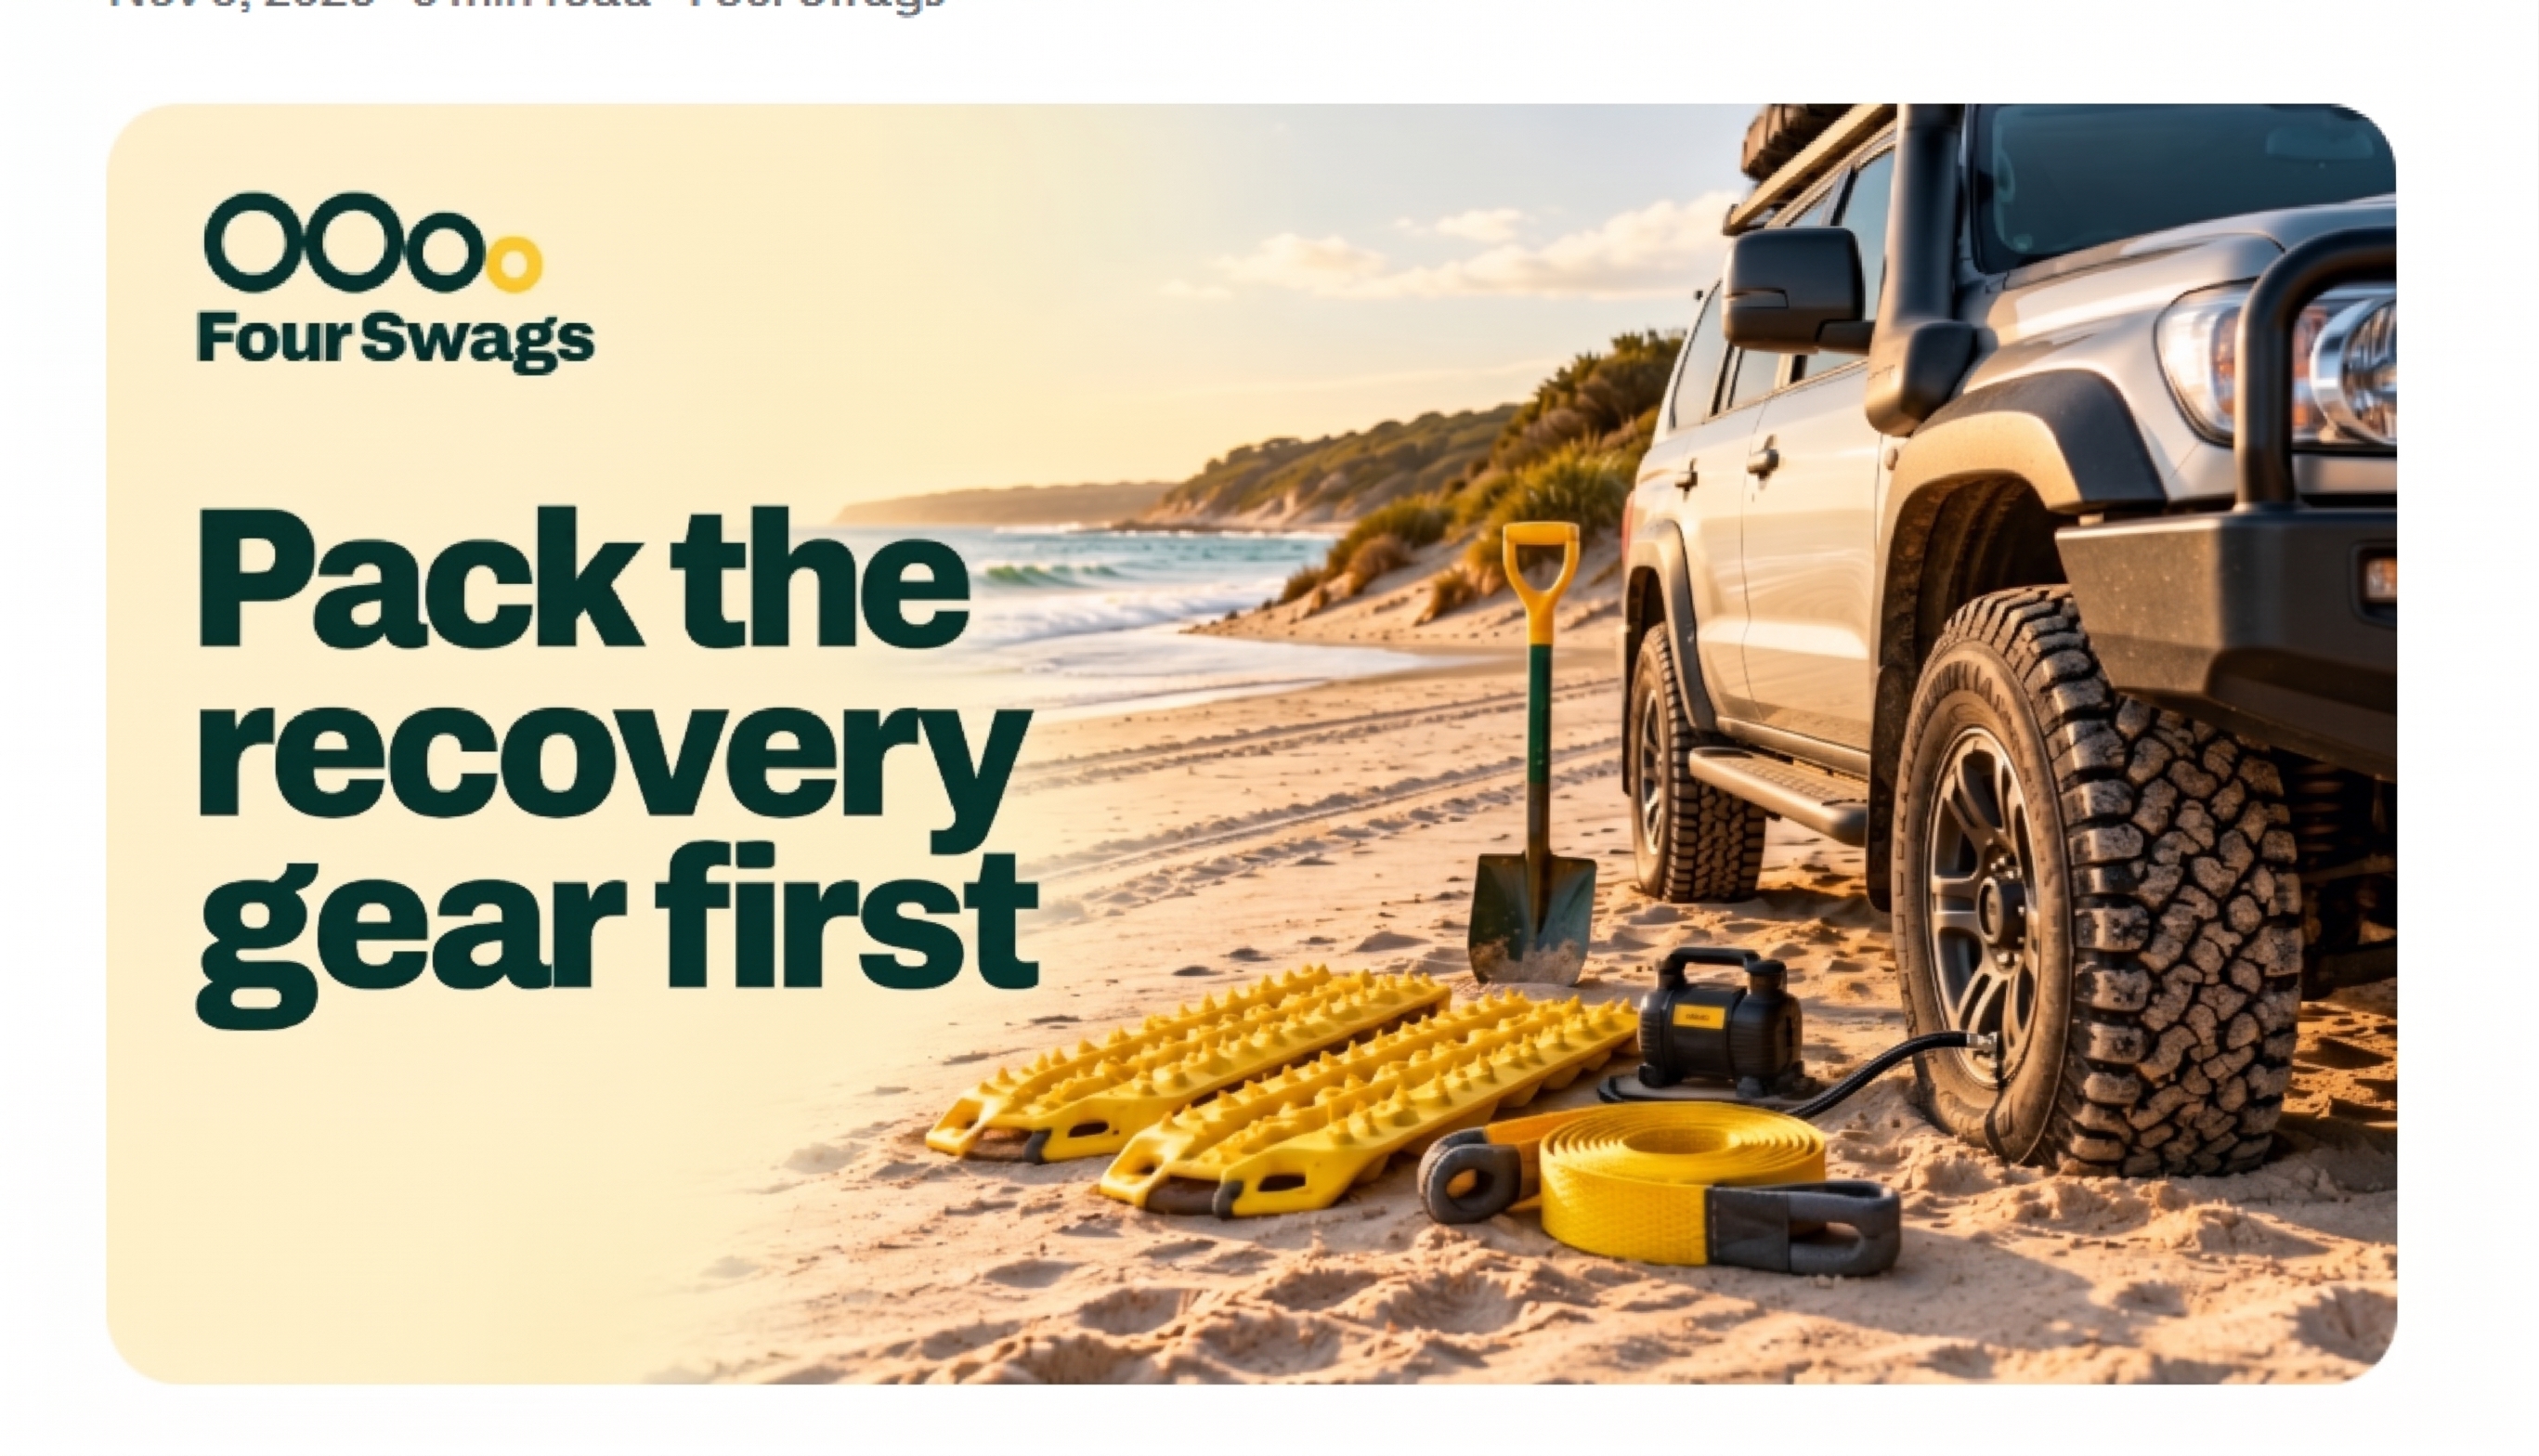
Sand looks forgiving. It isn't. It's soft, it moves under you, and it swallows momentum faster than any muddy track. The difference between a great day on the beach and an afternoon digging is usually not your tyres or your skill — it's whether you packed recovery gear.
And you don't need to own it. A full 4WD recovery kit is exactly the sort of thing that sits in a shed for 50 weeks a year. Hire it for the trip, use it properly, hand it back.
Here's what's worth hiring, what you can skip, and how to use it so you're not the person everyone films from the dunes.
Why sand is different
On a dirt track, you lose traction on one wheel and the rest carry you. On sand, you sink as a whole vehicle. The resistance builds fast, and stopping to think about it is the moment you get stuck properly.
The other trap is heat and tide. Beach driving happens in a place that changes twice a day. A line you drove in on at 10am can be underwater by 3pm, and the firm sand near the waterline is often the only drivable sand at all.
So the gear serves two jobs: getting unstuck, and buying you time.
The recovery gear to hire
This is the kit that actually earns its space in the back of the wagon:
- Recovery boards (tracks) — the single most useful thing on sand. Cheap to hire, hard to improvise, and they work on the first try more often than anything else.
- A snatch strap and rated shackles — for when boards aren't enough and a mate has to pull you out. Check the strap's rating and inspect it before you accept it.
- A long-handled shovel — short shovels are a false economy. You want reach and leverage so you're not on your knees in the sand.
- Tyre deflators and a compressor — dropping pressures is the number one beach technique; getting back to road pressure before you hit the highway is the number one safety step.
- A tyre pressure gauge — don't guess. Especially if you're running different pressures front and rear.
- Recovery gloves and a decent bag — small things, but a snatch strap under load is not something you handle bare-handed.
If you're going remote — long stretches of beach with no other traffic — also look at a UHF radio, a sand flag where it's required, and a portable compressor with enough hose to reach all four wheels without moving the vehicle.
Pressures, tides and the two rules that matter
Most beach drivers start around 18–20 psi and adjust from there — down until the tyres bag out and the car floats rather than digs. Ask the owner what they run on their own vehicle; they'll usually tell you what suits the sand you're heading to, and what pressure their rims are safe at.
The two rules:
- Drop pressures before you need to. Trying to deflate a bogged car is a miserable job.
- Check the tide chart before you go, not on the way back. Know when the water turns and give yourself a margin. Never drive a beach you don't know at a rising tide.
Also worth doing: check whether your beach needs a vehicle access permit, and whether any sections are closed for nesting birds or dune rehabilitation. Fines are real, and closures protect the places we all want to keep driving on.
What you don't need to hire
Recovery gear attracts over-buying. Leave these off the list for a day trip:
- A winch — genuinely useful in the bush, rarely the answer on sand, and heavy to mount. Boards and a snatch strap handle most beach situations.
- Traction ramps, maxtrax and boards all at once — one set of boards is enough.
- A full tyre repair kit — unless you're doing a remote crossing, a plug kit and a pump covers the common case.
Hiring from a local who drives that beach
This is where hiring beats buying in a way that's easy to miss. A local doesn't just hand over gear — they hand over knowledge. Which entry point is soft. Where the sand firms up. Which car park fills by 8am on a Sunday.
On Four Swags you hire recovery gear from people near you, which often means the gear is set up for exactly the beaches you're heading to:
- Pick up on your way through. Collect the boards and compressor in the morning, drop them back on the way home.
- Ask about their setup. Most owners are happy to talk pressures, straps and tide timing.
- Match the kit to your vehicle. Tell them what you drive and whether you have recovery points front and rear — they'll steer you to gear that actually fits.
Two things to sort before you leave: confirm the gear is rated and serviceable, and make sure your own vehicle has proper recovery points. A snatch strap attached to a tow ball is how people get hurt.
Got recovery gear in the shed doing nothing between trips? Listing it takes about five minutes, and you can set your own deposit and pickup details.
Pre-trip checklist
- Check the tide chart and pick your window
- Confirm whether the beach needs an access permit
- Hire boards, strap, shackles and a compressor
- Drop tyre pressures before you leave the bitumen
- Fill the esky, charge the radio, tell someone your plan
- Pack out everything you bring in — including anything that blows off the back
The short version
Hire the gear you'll use twice a year. Learn to use it before you need it. Check the tide before you get excited about the sand.
Do that, and a beach day stays a good story instead of a long one.
Hire it from a local
More guides
- Pre-Summer Camping Checklist: Gear & Vehicle Checks
- Camper Trailer vs Caravan: Which Should You Hire?
- Camping Gear Hire FAQs: Deposits, Damage and Returns
- Coastal and Beach Camping Guide: Sand, Sun and Swags
- How to Hire Outdoor Gear in Australia | Four Swags
- Weekend Camping Checklist: Gear to Hire, Not Buy